Choosing the right typography for a baby shower invitation sets the tone for the entire event. When you mix a luxury aesthetic with vintage typewriter fonts, you get a design that feels both nostalgic and highly sophisticated. This specific style works beautifully because the raw, mechanical charm of typewriter lettering contrasts perfectly with elegant layout choices, creating a boutique feel for your celebration.
What makes a typewriter font look luxurious?
A standard monospace font can easily look like a rough draft or a basic coding script. To elevate it into a luxury vintage typewriter baby shower invitation typography style, the difference comes down to spacing, weight, and texture. High-end designs use fonts with subtle ink traps, varied stroke weights, and slight distressing that mimics a well-maintained antique machine. Pairing these mechanical letters with generous white space and delicate script accents elevates a basic typeface into a refined design element.
Which vintage typewriter fonts work best for high-end invitations?
Not every retro font fits a formal event. You want typefaces that are legible and have a refined edge. Special Elite offers a slightly weathered look that feels authentic without being messy. If you prefer a cleaner, more polished aesthetic, Courier Prime provides sharp, highly readable characters that look crisp on thick cardstock. For a softer, more traditional feel, American Typewriter brings a gentle, rounded charm that pairs well with floral illustrations.
How should I pair typewriter fonts with other styles?
Relying on a single monospace font for the entire invitation can make the text hard to read and visually flat. The best approach is to use the typewriter font for the main details like the date, time, and location and pair it with a contrasting typeface for the header. If you are designing a sweet and elegant invite for a baby girl, try pairing your typewriter text with a delicate, high-contrast serif or a flowing calligraphy script for the baby's name. On the other hand, a clean and structured design for a baby boy often looks best when you mix the typewriter letters with a bold, minimalist sans-serif header.
What are the most common design mistakes to avoid?
Even the best fonts can look cheap if they are formatted poorly. Here are a few practical traps to watch out for when designing your stationery:
- Using heavily distressed fonts for small text like the registry details or address. The ink blots make small letters illegible when printed.
- Centering long paragraphs of monospace text. Typewriter fonts look much better when aligned to the left, as the uniform character width creates awkward, uneven gaps when forced into the center.
- Printing on flimsy paper. A luxury design requires heavy cardstock or cotton paper to give the vintage typeface the physical weight it deserves.
How do I format the layout for a premium feel?
Formatting is what truly separates a basic template from a professional design. When exploring different typography styles for your event, pay close attention to letter spacing. Monospace fonts already have built-in spacing, so you rarely need to add manual tracking. However, you should increase the line spacing between your blocks of text to let the design breathe. Use a clear visual hierarchy by making the parents' names or the baby's name the largest element, keeping the typewriter details smaller and uniform.
What paper and printing methods enhance the vintage look?
The physical presentation of your invitation matters just as much as the digital design. To give your typography a genuine luxury finish, consider printing on textured cotton paper. You can also look into letterpress printing, which physically presses the ink into the paper, creating a tactile indent that mimics the heavy strike of a real typewriter key. If you want to explore more modern digital alternatives that mimic this mechanical feel on screens, fonts like Consolas offer a clean, optimized look, though they lack the authentic vintage grit of true retro typefaces.
Final checklist before printing
Before you send your invitations to the printer, run through this quick checklist to ensure your design is fully ready:
- Check the legibility of all small text, especially the venue address and RSVP details.
- Verify that your font pairing creates a clear visual hierarchy without clashing.
- Order a single physical proof on your chosen cardstock to check the ink density and paper texture.
- Ensure your digital file is set to CMYK color mode and 300 DPI for crisp, professional printing.
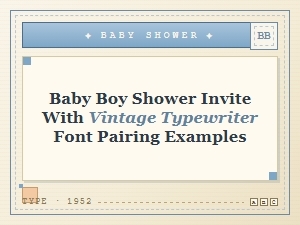 Classic Baby Boy Shower Invites with Vintage Typewriter Fonts
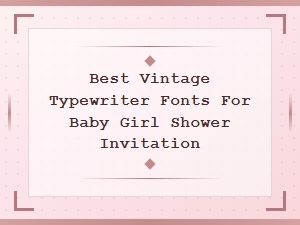 Select the Best Vintage Typewriter Fonts
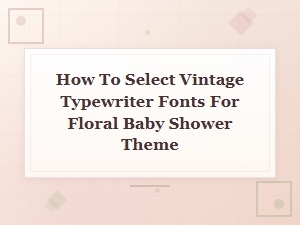 How to Select Vintage Fonts for a Floral Baby Shower
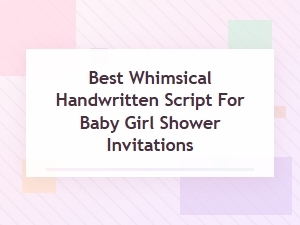 Best Whimsical Scripts for Baby Girl Shower Invitations
 Combine Serif Fonts for Elegant Baby Shower Invitations
 Traditional Elegant Serifs for Baby Shower Invitations